After completing all the basic configurations, let's see how to manage the fundamental part of any WooCommerce store, the Product Catalog. To make catalog navigation simple and intuitive, it is important to divide the products into homogeneous groups called Categories.
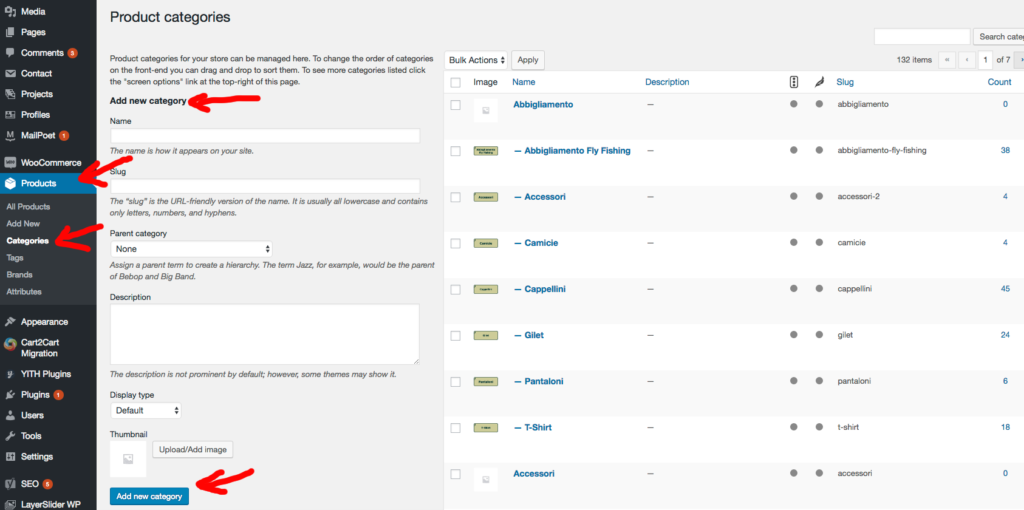
The categories allow us to sort the products according to their characteristics definite, so you can easily manage similar products. To add a category, click on the menu item "Products"And then we choose"Category". The list of the categories already created and the module to insert a new one will appear:
On the right we have the list of categories, with Name, Description, the URL and the number of products in the category.
On the left we have the fields to fill in to create a new category, including a small image, and at the bottom the button to confirm the insertion of the new category.
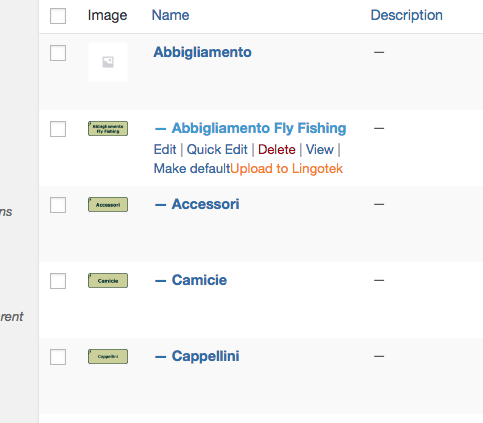
If you want to change a category, simply move the mouse to the category name
When creating the product we will have the possibility to choose the category (or more than one) to assign it to. Categories can also be ordered by drag and drop. This order will also be displayed in the frontend of the website.
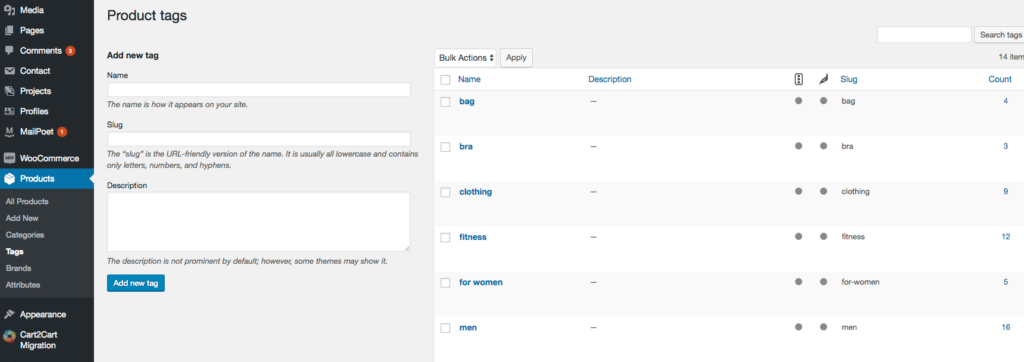
I tag they represent another way to group and classify similar products. In fact, they are "labels" that we can add to a product to facilitate research. Their operation is very similar to that of the categories, and they are managed from the "Products> Tags" menu.
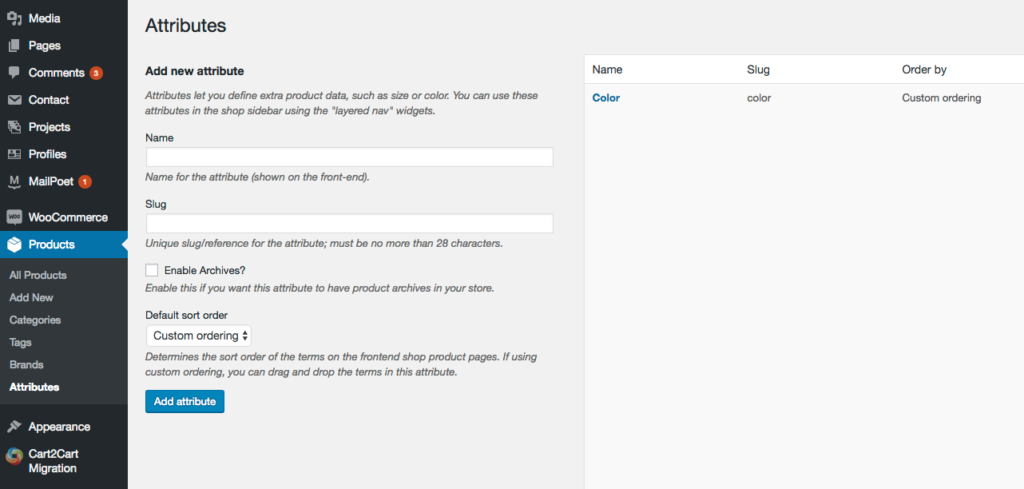
- attributes are fields with additional information that are used to filter the search for products. For example, we can add attributes for sizes, colors and languages. Unlike categories and tags, you can select more than one attribute to refine your search. Attributes are also managed from an interface similar to that of categories. It is accessed from the “Products> Attributes” menu.
After creating the categories, tags and attributes we think we want to use, we can proceed with product creation. First of all we must have clear ideas about the type of product we want to include.
In WooCommerce the most common type is the product simple. It is a single product that is sold on our site and sent to the customer. Or we can select the option virtual, in the case of products not sent physically (for example a service) or downloadable, to signal that it is an intangible product and the customer will be sent a link to download it after the purchase.
A product grouped it is nothing more than a grouping of simple products that must be purchased in a single solution.
A product external or "affiliate" is a product that is advertised and reported on our site but sold elsewhere.
Finally, a product variable it is a product made up of various combinations and variations, each of them with different codes, prices and availability. For example, a garment that has different sizes and different colors with different codes and prices based on the combination chosen.
Thanks to the numerous extensions available, it is possible to add other types of products based on our needs, such as subscriptions and subscriptions.
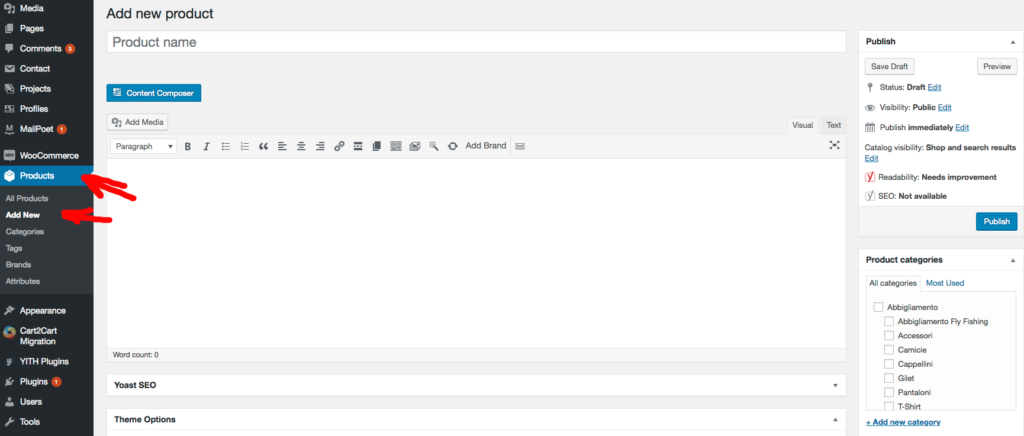
To add a simple product to our catalog, click on the "Products" menu and then on "Add Product". We will have an interface very similar to the one used for creating WordPress posts:
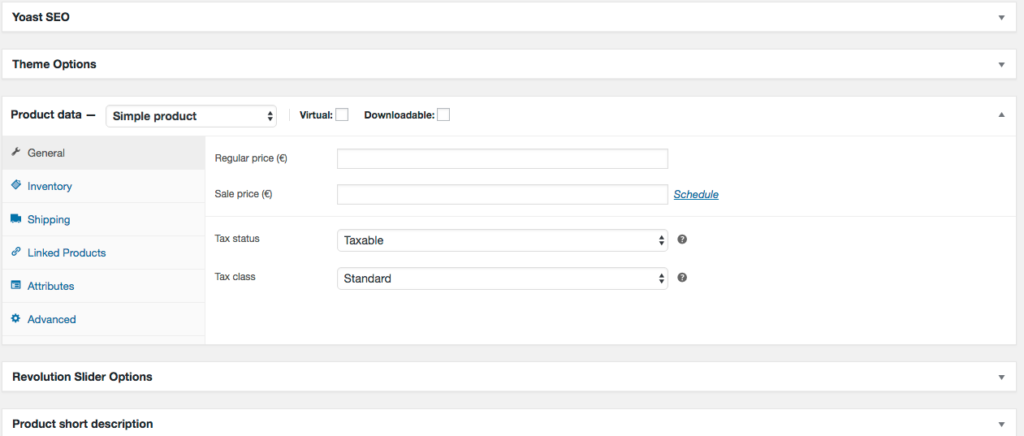
Let's start by adding the product name and description in the dedicated boxes. Below the description editor we find the panel to enter the product data, here we leave the "simple product" item selected. In the "General" tab we enter the regular list price and any price on offer in case the product was discounted. In this last case we can also set the price reduction period using the "Schedule" button.
The last two boxes concern taxes. We have the option to choose whether the product will be part of the tax base (so VAT will be calculated) or if it is exempt, or if the taxes must be calculated only on the shipment.
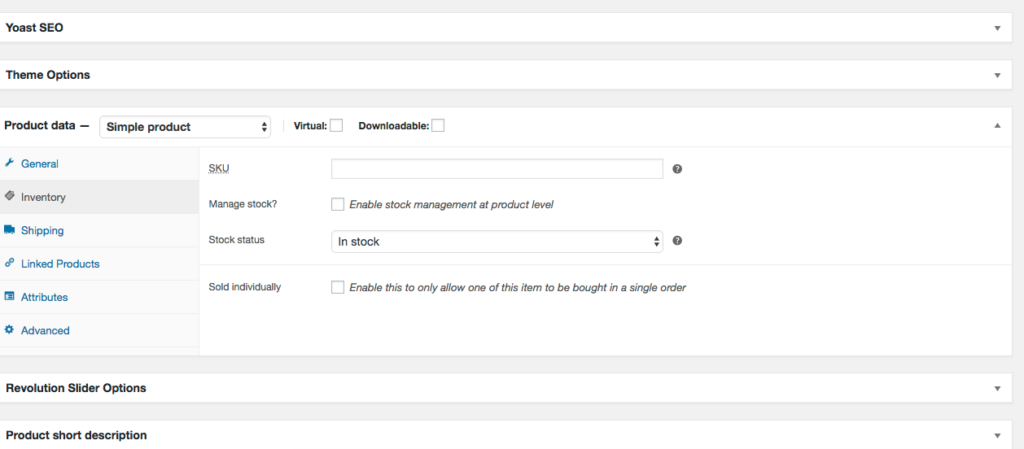
In the "Inventory" tab we can manage the internal warehouse. In the "COD" (or "SKU") box we can add the product code to uniquely identify it with respect to another. It must therefore be a unique code. The other options are easily understood.
If from the settings we have enabled "stock management" (from "WooCommerce> Settings> Products> Inventory"), through the "Enable inventory management" box we can enter the quantity currently available in the warehouse, which from now on will therefore be managed by WooCommerce and, based on your preferences, will be able to disable the product when you run out of stocks.
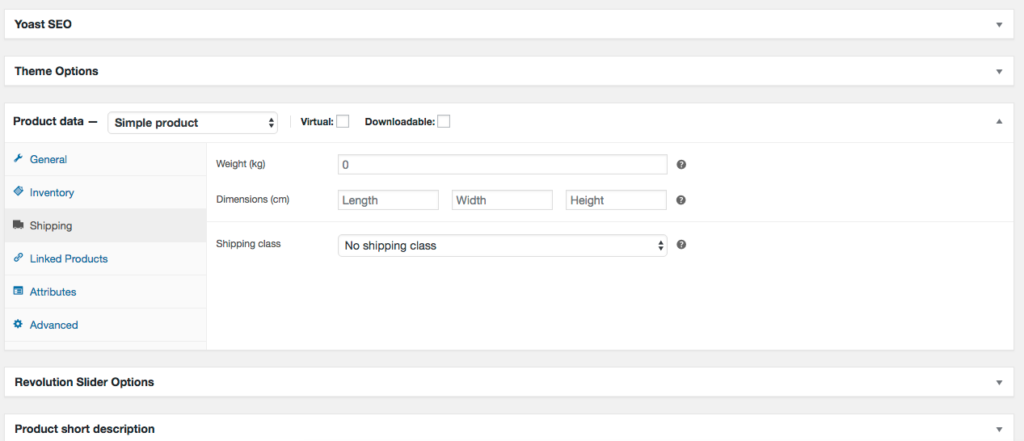
The next tab contains all the information useful for Shipping. In fact, we can specify weight, height, width, length and assign the relative shipping class to the product.
Thanks to the "Related Items" section we can promote some of our items. By adding products in the "Up-Sells" box, these will be displayed on the product detail page, to encourage the user to buy something of greater value than what he is looking at. The Cross-Sells will be displayed instead in the cart and represent products or services in some way connected to the product.
In the "Attributes" tab we can add any attributes of this product and their values.
Finally, in the "Advanced" tab we can activate the reviews, establish the order of the product with respect to the others and specify any note to be sent to the customer who buys the product.
As anticipated, a simple product can also be Virtual or Downloadable. To specify these last two cases, simply select the relevant box that we find at the beginning of the "Product Data" section. In this case, some unneeded cards (such as shipments) will disappear and others will appear to specify further preferences (the download limit, the expiry ..).
We then proceed by entering all the other information requested. At the bottom we find the box to insert a brief description of the product, this will be displayed on the product list page, while the complete description entered first will be displayed on the product detail page.
Finally, to complete the product customization, on the right side we find various boxes to manage the publication and visibility of the product, and to add the Category, Tags and images.
To manage all the settings concerning the catalog go to "WooCommerce > Settings > Products". Here, navigating through the various submenus, we can proceed with the customization: for example, choose the categories and the units of measuredefinite, image size, enable or disable inventory management.
Coveware by Veeam will continue to provide cyber extortion incident response services. Coveware will offer forensics and remediation capabilities…
Predictive maintenance is revolutionizing the oil & gas sector, with an innovative and proactive approach to plant management.…
The UK CMA has issued a warning about Big Tech's behavior in the artificial intelligence market. There…
The "Green Houses" Decree, formulated by the European Union to enhance the energy efficiency of buildings, has concluded its legislative process with…